Techniques to Polish Aluminum
One of the most frequent questions I get asked is how to polish aluminum. The word polish can be interpreted several different ways so let’s explore the different methods, products and results.
Let’s start by understanding the characteristics of aluminum, just like steel, aluminum will oxidize, the difference being that oxidation on steel commonly known as rust will slowly eat away at the metal. When aluminum is exposed to air a thin layer of aluminum oxide forms, this layer of aluminum oxide actually protects the metal from further corrosion, but is also gives the surface a mat whitish appearance.
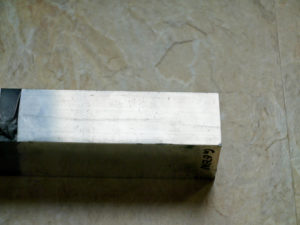
The aluminum sample I am using is a well weathered piece of 2” square tube, this is the same material as found on your boler windows and belly band. I will be demonstrating 10 different products divided into 4 categories these include:
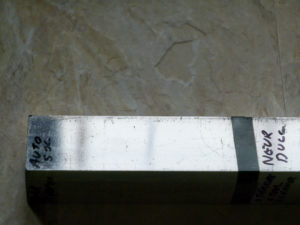
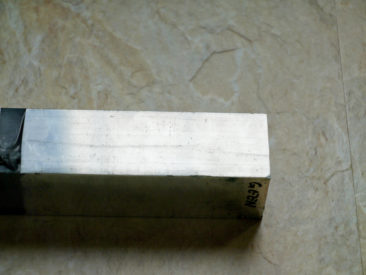
The aluminum I will be using, it is a weathered piece of 2″x2″ square aluminum tube that is fully covered with oxidation, the whitish haze covering the surface. As you notice the surface is far from perfect with one side marked with deep scratches, I will use this side last. I will divide each side into 3 sections so we can demonstrate several products in one category on each side.
Course Abrasives
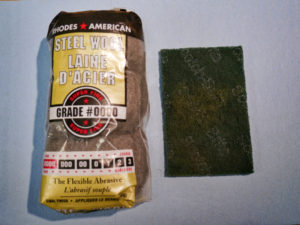
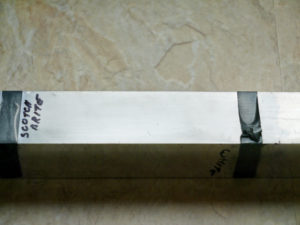
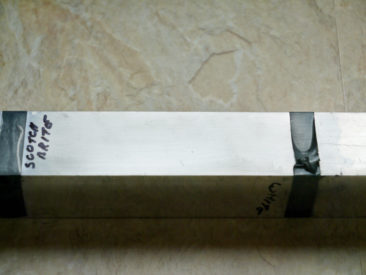
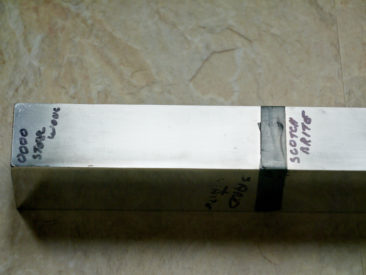
Course abrasives include steel wool, Scotch Brite pads and sandpaper. I don’t classify these products or the finished surface as polished, this process “grains” the aluminum, creating uniform grooves or scratches in the surface. Because these scratches actually increase the surface area oxydation usually returns quickly.
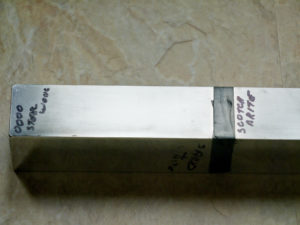
0000 Steel Wool which is equivalent to about 400 grit sandpaper, it quickly removes the oxide and leaves a uniform mat “scratched” or grained finish.
UPDATE on using Steel Wool: I found out from an Auto Body shop that it is dangerous to mix metals. When using steel wool, you will leave behind minute fragments of steel in the scratches which will lead to a process called bimetal or galvanic corrosion. Modern body shops have a “clean room” shop bay for working on aluminum-bodied Ford Pickup trucks ONLY, because you cannot use any equipment used on steel body work and expect any good results.
Green Scotch Brite Pads which is equivalent to 600 grit sandpaper. This is also a very easy and quick method to grain the surface of the aluminum
Conclusion: Course abrasives are the easiest and quickest method and give a uniform matt surface finish. The disadvantage of this method is the grain applied to the surface actually increase the surface area of the aluminum which will result in the oxidation quickly returning.
Fine Abrasives
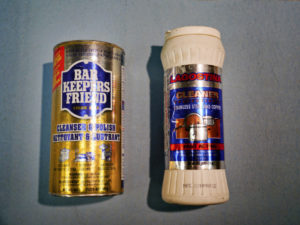
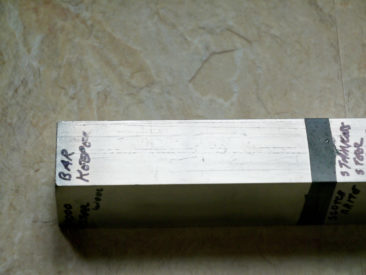
Fine abrasives like Bar Keepers Friend, or similar powered products work the same way as the course abrasives but the finish has a little more shine because the scratches are very small, almost microscopic.
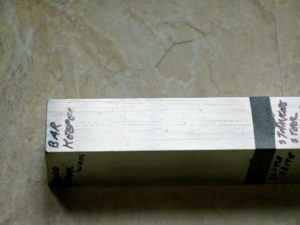
Bar Keepers Friend, metal polish, First I applied water to the surface then the powered cleaner was added and the slurry is rubbed over the surface, as the aluminum oxide is removed the slurry turns black. I repeated this process twice and rinse in running water between each application.
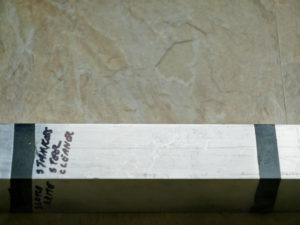
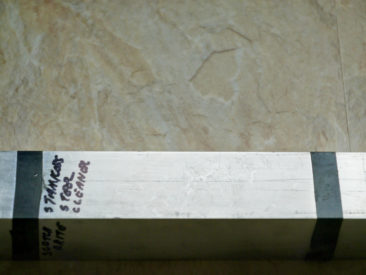
Powdered stainless steel cleaner, this is applied in exactly the same way as the Bar Keepers Friend.
Conclusion: This process is fairly easy and leaves the surface grained with very small scratches and a satin finish
Chemical Polishes
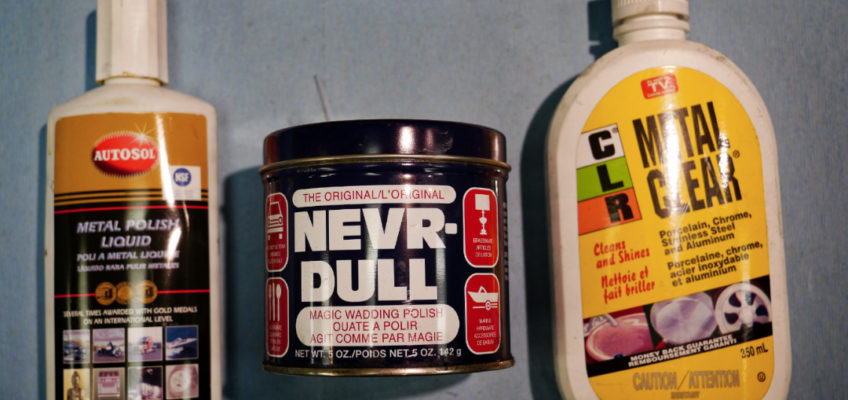
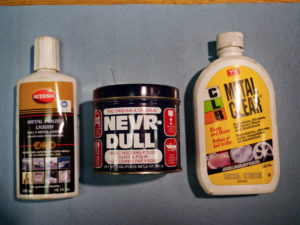
Chemical polishes dissolve the aluminum oxide and restore the original finish, products include AutoSol, Nevr-Dull, Aluminum wheel polishes, etc. Aluminum oxide is not affected by acids so the main active ingredient in an alkaline solutions, other chemicals are added to coat the bare aluminum to slow down the oxidation from returning. Use caution when using chemical products as they can be dangerous on your skin and can cause pitting on the aluminum if left in for too long. NOTE: Package instructions were followed using these products.
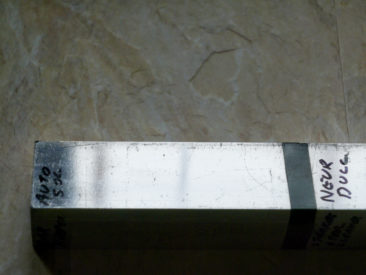
Autosol Metal polish, this is my favourite and “go to” product that I use to maintain the aluminum finish on my boler. It is applied using a clean cloth or shop towel, rubbing the surface. As the aluminum oxide it chemically removed the cloth will start turning black. There is a noticeable improvement in surface reflections.
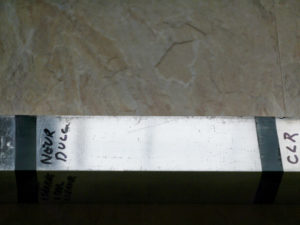
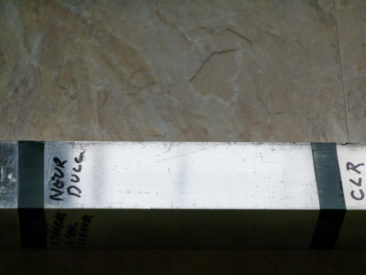
Nevr-Dull The container contains cotton pads saturated with an oily solution that is rubbed on the surface of the aluminum. Again a black residue will form as the aluminum oxide is removed. This product is easy and convenient to use but the results are not quite as good as the AutoSol
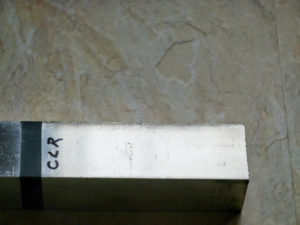
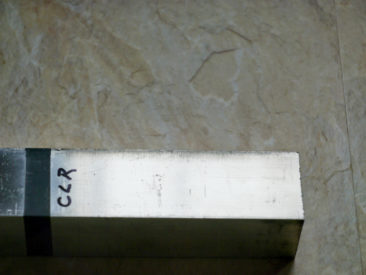
CLR Metal Clear is a cream cleaner that is applied the same as the others in this category. This product has the least improvement of all the chemical products tested.
Conclusion: These products are easy to use but can be messy, you need to protect surrounding painted surfaces. The aluminum surface is returned to the original shiny finish. I recommend these products, especially the AutoSol to annually treat and protect all aluminum surfaces
Power Polishing
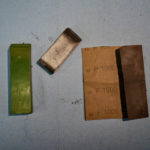
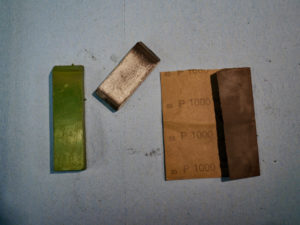
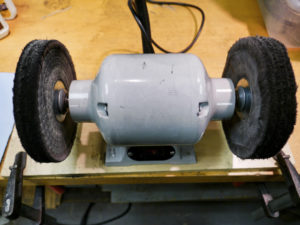
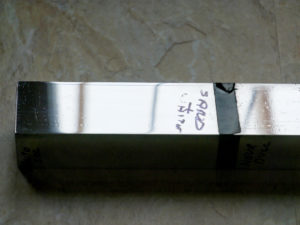
The final method is what I define as truly polishing the aluminum, using polishing bars which are wax bars impregnated with very fine abrasives and cotton buffing wheels mounted on a motorized grinder or polisher. In this process the surface of the aluminum is actually cut and smoothed to a completely smooth mirror finish. This method takes the most work and is VERY messy, the black aluminum oxide dust will go everywhere, but the reward is the finish will be spectacular, also because the smoother surface has less surface area the surface will not oxidize as quickly and chemical polished are very easy to apply to maintain the finish as annual maintenance. The white polishing bar uses diamond dust as an abrasive, it works very quickly and leaves a highly polished surface, green polishing compound has a finer abrasive which will result in even a better shine but will take longer.
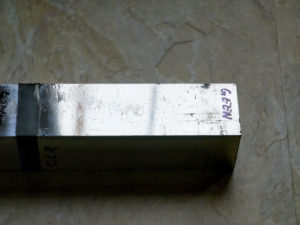
Green Polishing Compound leaves a mirror finish on the aluminum, because of the damage to the surface of the sample it is not perfect but you notice a marked improvement over the previous methods.
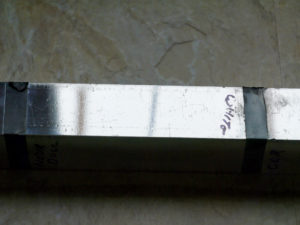
White Polishing Compound takes a little less time and leaves a mirror finish almost identical to the green compound on the aluminum, because of the damage to the surface of the sample it is not perfect but you notice a marked improvement over the previous methods.
Sanding & Power Polishing The final method is to sanding the surface with progressively finer sandpaper, 320, 400 and finally 1000 grit, followed by power polishing, this cleans up a lot of the surface marks and damage. The results in an exceptional finish at the expense of a lot of work and time.
Conclusion: As you can see none of these methods will cover a damaged surface bangs, bumps and deep scratches will all be seen.
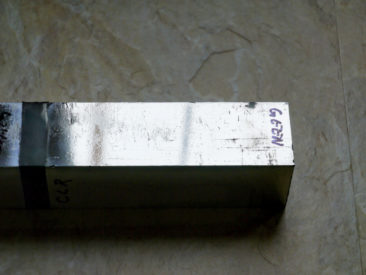
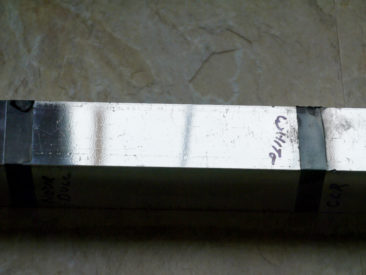
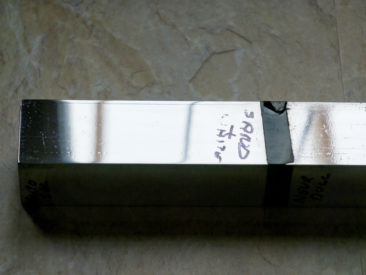
Side-by-Side comparison
Leave a Reply